Tonfa Gun Critical Ninja
 Ninja
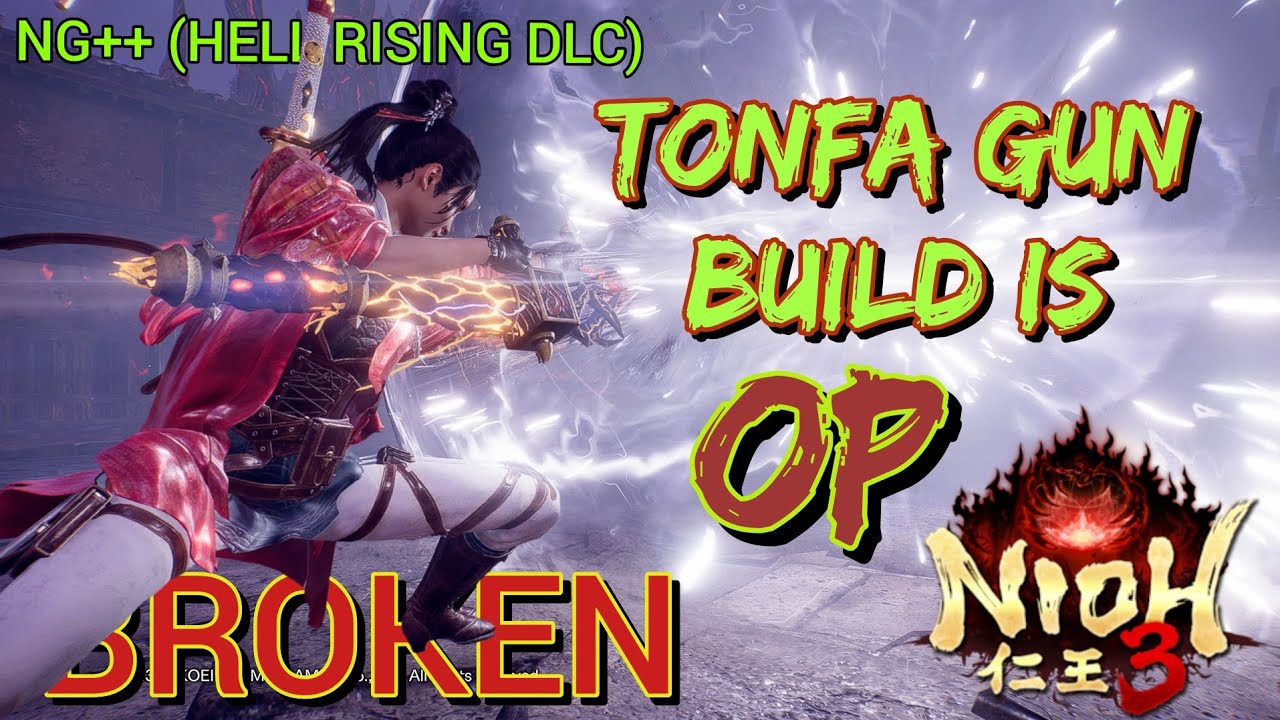
NinjaA tonfa build assembled around one accessory. Yasakani Magatama lowers every set bonus requirement by a piece, so a single Overseer's Tonfa reaches the two-piece threshold that grants Tonfa Gun, which is what lets the Devastation martial art finish with an explosive charge. The same trick runs Master of Illusion and a full seven-piece Grace of Inari off four and six equipped pieces, stacking three set bonuses at 8.9 of 29.0 equipment weight.
Damage
3,124 tonfa attack, +40.8% elemental, +37.6% melee critical damage
Survivability
4,509 Life, 3,825 Defense, Toughness 152 (B), damage halved while unscathed
Boss
Cleared at NG++ on Stone of Penance 7
Ninja
Ninja is one of Nioh 3's two combat styles, built around speed, evasion and shinobi tools rather than heavy guard trades. It carries its own skill tree and capacity pool, its own Ninjutsu gauge, and the light armour options that keep equipment weight low enough to hold a high Agility grade.
The build's entire reason for existing, and the only Overseer piece equipped. It carries the Chief of Imperial Secrets set bonus, and because Yasakani Magatama shaves a piece off every set requirement, this one weapon counts as two and unlocks the Tonfa Gun effect on its own. Tonfa Gun is what turns Devastation from an ordinary follow-up into a martial art that ends with an explosive charge. Its own rolls lean on the Critical conditional, which most of the loadout shares.
Target Rolls
- ▸Chief of Imperial Secrets 2/7— The fixed set effect and the only roll that is non-negotiable. With Yasakani Magatama equipped this single piece reaches the two-piece tier, which is what grants Tonfa Gun.
- ▸Melee Attack Ki Consumption (Critical) -19.0%— The largest Ki discount anywhere in the loadout. It is what lets the Devastation loop repeat instead of pausing to recover.
- ▸Melee Damage (Critical) +11.3%— Straight damage inside the same Critical window the rest of the kit keys off.
- ▸Life Recovery (Amrita Absorption) 6— Feeds the Amrita healing engine that five other pieces also carry.
- ▸Onmyo Magic Ki Damage +1.8%— Minor. Worth re-rolling past if you can land more Critical melee damage instead.
How to Obtain


Head slot and a Master of Illusion carrier. The roll that matters here is the flat cut to melee attack Ki consumption, which applies to every swing rather than only to the Critical window. Light enough at 0.8 weight to keep the loadout inside its Agility grade.
Target Rolls
- ▸Master of Illusion 5/6— Fixed set effect. One of the four worn Flying Kato pieces.
- ▸Melee Attack Ki Consumption -13.4%— The roll worth chasing on this slot. It applies to every swing rather than only inside the Critical window.
- ▸Ki Recovery Speed (Critical) +6.7%— Shortens the gap between Devastation repeats.
- ▸Damage Taken (Critical) -3.4%— Defensive filler shared across all three Flying Kato pieces.
- ▸Life Recovery (Amrita Absorption) 3— Part of the stacked Amrita healing total of 38.
How to Obtain


The keystone, and the piece to farm before anything else. The wiki describes it plainly as an accessory that lowers set bonus requirements by one piece, and the effect does not stack with itself. Every set counter in this build reads one higher than the number of pieces actually worn because of it. Without this accessory a single Overseer's Tonfa grants nothing, and the build has no Tonfa Gun.
Target Rolls
- ▸Reduced Set Bonus Requirements -1— The fixed special effect and the entire build. It does not stack with itself. Removing it collapses all three set counts by a tier and deletes Tonfa Gun.
- ▸Grace of Inari 7/7— Doubles as one of the six Grace carriers.
- ▸Life Drain (Ranged Weapon Hit) 30— Returns health on rifle hits.
- ▸Uncanny Bubble Damage +10.0%— Situational and the first roll to trade away.
- ▸Dodge Ki Consumption (Critical) -6.0%— Stacks with the Mitsumono Hakama roll for the total dodge discount.
How to Obtain

The Hell Rising scroll slot, held here as a Grace of Inari carrier. A Picture Scroll can roll a Grace of its own, which is the extra slot that lets a seven-piece Grace coexist with two armour set bonuses on a five-piece armour loadout.
Target Rolls
- ▸Grace of Inari 7/7— The only thing this slot is here to provide. A Picture Scroll can carry a Grace of its own, which is the extra slot that lets a seven-piece Grace coexist with two armour set bonuses.
How to Obtain

Set to the Yang position, where it supplies four Summoning Seal charges. The wiki lists it as a Rare core that grants a large Ki Pulse bonus and can inflict Blindness through Onmyo Magic. Both of its headline effects are gated behind stat requirements the build already clears.
Target Rolls
- ▸Ki Pulse Bonus +50— The headline effect, gated at 40/6. The build's Magic 40 is what clears it.
- ▸Blindness (Onmyo Magic Hit)— Gated at 40/8. Applies through the talismans on the quick-item wheel.
- ▸Melee Damage +1.9%— Small unconditional damage.
- ▸Dodge Ki Consumption -1.0%— Minor addition to the dodge discount total.
How to Obtain


The Guardian Spirit, and a wind spirit that lines up with the build's resistances. Martial Art Ki Damage is the effect that matters, since the whole rotation is martial arts, and the wind damage reduction it carries is the single largest defensive number on any one piece of the loadout. Enemy Sensor is quality of life rather than power.
Guardian Spirit Skills
- ▸Kurama's Tempest— First Guardian Spirit Skill. Costs 60 Spirit Force.
- ▸Kurama's Slicer— Second Guardian Spirit Skill and the cheaper of the two. Costs 30 Spirit Force.
How to Obtain
The build pledges to the Honda clan at Foot Soldier position. Both styles draw the halved damage bonus while unscathed, and the Samurai side adds martial art damage on top. The Ninja side pulls a Shimazu Troop Commander bonus for melee damage in the Critical window, which is the same conditional the rest of the loadout is built around.
The Overseer set bonus, running at two of seven from a single equipped tonfa. The two-piece tier is the only one this build reaches, and it is the only one it needs, because the two-piece tier is Tonfa Gun. Everything above it is listed here so you can see what a fuller Overseer commitment would buy, which this loadout deliberately trades away for Master of Illusion and Grace of Inari.
The Flying Kato set bonus, reaching five of six from four worn pieces. The five-piece Elemental Damage tier is the target, and the six-piece Life Drain on Ninjutsu hits is out of reach unless you give up a Grace of Inari carrier to wear Flying Kato's Robes or Waistguard. Values shown are as they read at level 170 gear.
A Divine Grace rather than an armour set, so it rolls on Divine-rarity gear that carries no named set bonus and can be spread across weapons, armour, accessories and the Picture Scroll. This build runs it at the full seven-piece tier off six carriers. The seven-piece tier is the largest single damage multiplier in the loadout.
Combat Strategy
- ▸Apply an elemental imbue before engaging. The build carries over forty percent elemental damage and two Grace of Inari elemental weapon tiers, so an unimbued weapon leaves most of its damage unused.
- ▸Confirm the Overseer's Tonfa is in the first melee slot and Yasakani Magatama is equipped. Without the accessory the tonfa grants no set bonus and Devastation loses its explosive follow-up.
- ▸Check that equipment weight is still under the Agility threshold after any gear swap. The mobility rolls on the Flying Kato pieces assume a light load.
- ▸Stock the quick-item wheel. The source loadout carries Carnage, Last Stand and Water talismans on the first page and Sloth, Thunderstorm Shot and the Impurity Transfer Doll on the second.
- ▸Open with a Quick Attack, since Devastation is a follow-up and cannot be input cold.
- ▸Press Triangle after the Quick Attack to commit to Devastation, which thrusts with both tonfa.
- ▸Press Triangle again during Devastation to fire the Tonfa Gun explosive charge. This input only exists while the tonfa carries the Tonfa Gun special effect.
- ▸Repeat rather than ration. Stacked Ki reduction of nearly twenty percent on Critical melee attacks and fifteen percent on martial arts is what makes the loop sustainable.
- ▸Let Amrita absorption do the healing. Five separate pieces carry Life Recovery on Amrita Absorption, totalling 38, so collecting Amrita is the primary heal.
- ▸Lean on the two Life Drain rolls. Dragon Whistle returns health from elemental damage and Yasakani Magatama returns it from ranged weapon hits.
- ▸Stay unscathed where possible. The Honda clan pledge halves damage taken while unscathed on both styles, and two further melee bonuses key off the unscathed state.
- ▸Use evasion rather than blocking. Evasion Expert widens the successful Evade window and dodge Ki cost in the Critical window is cut by over twenty percent.
Sources
Verified: 2026-09-21 · All content is original with full credit to original creators.