Shattered Grounds Bleed VATS
Smashysnow's Shattered Grounds build turns the strongest Handmade in the game into a silenced VATS bleed cannon that lands 8,000 damage per hit on the Guardian. Two configurations share the same three-star core. Pin-Pointer's with the Aligned Long Barrel and a full Limit-Breaking set gives peak boss damage, while Conductor's paired with a full Scanner's set gives infinite VATS that needs no consumables at all. Separate Ghoul and Human loadouts run the same weapon loop, with the Ghoul spending its points on Glow-gated cards like Science Monster and Glowing Gut, and the Human trading those for Nerd Rage, Bloody Mess, and mutation protection.
Damage
8,000 per hit on the Guardian, 5,000 before the shield drops
Survivability
Full five-piece Vulcan set, plus Brick Wall stagger immunity on the Ghoul
Boss
Deletes the Guardian in a single crouched damage window

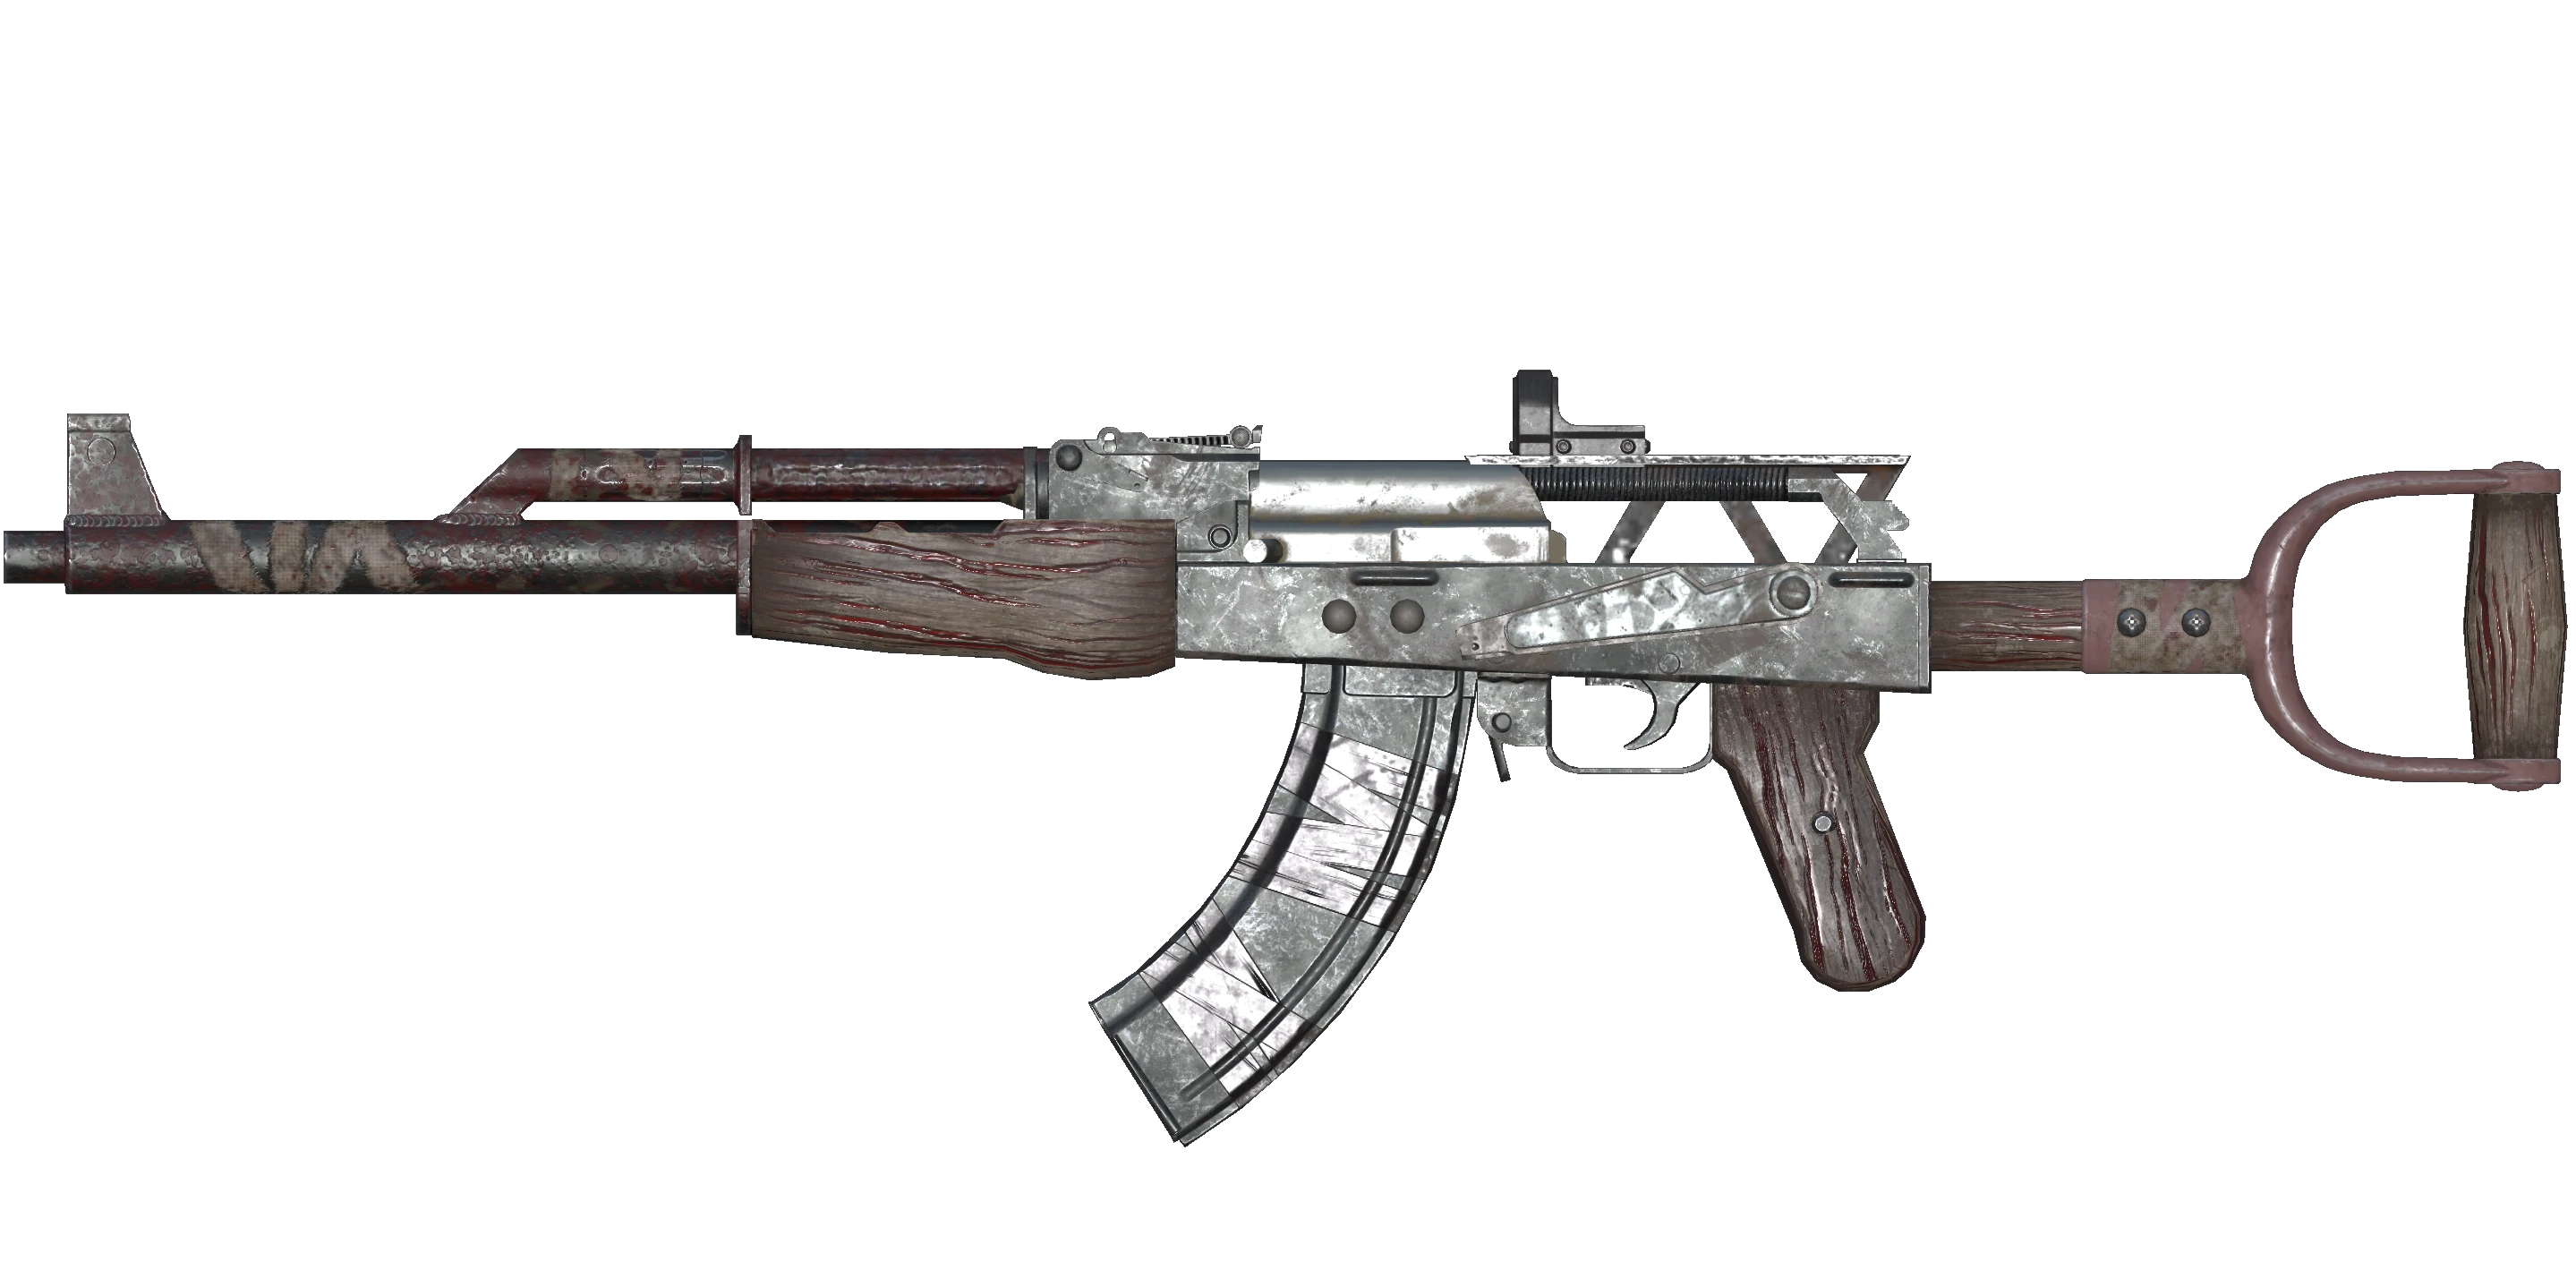
The build's entire foundation. Its first three stars can be rerolled freely, and the fixed fifth star adds a bleed effect that scales with how often the weapon connects rather than how hard it hits. A suppressor sits in the muzzle slot by default, so Mister Sandman and the sneak multipliers stay live without giving anything up. Run Pin-Pointer's for the damage ceiling or Conductor's for a VATS bar that never empties.
High-Damage Setup
- ▸Furious (1-star)— Adds damage for every consecutive hit on the same target, which suits a weapon that wins through hit count.Wiki
- ▸
- ▸
- ▸Pin-Pointer's (4-star)— The damage-ceiling choice. Swap it for Conductor's if you want the infinite V.A.T.S. configuration instead.Wiki
- ▸Bleed (5-star, fixed)— The weapon's locked unique effect. It adds bleed damage on hit, which is what makes the whole build work.Wiki
- ▸Aligned Long Barrel— Barrel slot. Adds 25% hip-fire accuracy, 30% sighted accuracy, and a large range increase over the short barrel, at the cost of more recoil.Wiki
- ▸Suppressor— Muzzle slot, fitted by default. It keeps the weapon quiet so Mister Sandman's silenced sneak bonus stays active.Wiki
Alternate Configuration
How to Obtain
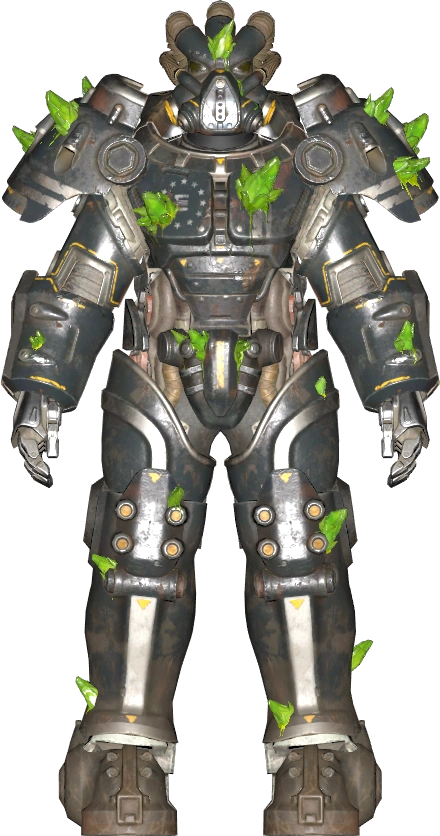
The chassis for both configurations. All five pieces carry the same four-star mod, and which one you pick decides how the weapon plays. Limit-Breaking pairs with Pin-Pointer's for the highest damage, and Scanner's pairs with Conductor's to reach infinite V.A.T.S. while keeping the long barrel's range.
Mods & Attachments
- ▸Limit-Breaking (High-Damage Set)— Reduces the Action Point cost of V.A.T.S. critical hits across the set. Wear this one with the Pin-Pointer's weapon.Wiki
- ▸Scanner's (Infinite V.A.T.S. Set)— Cuts V.A.T.S. Action Point cost by 5% per piece, up to 25% on a full set. Wear this one with the Conductor's weapon and the Aligned Long Barrel.Wiki
How to Obtain

Only the Pin-Pointer's configuration needs it. Drink it before the damage window to keep Action Points flowing through a long burst. The Conductor's configuration sustains itself and needs no consumable at all, which is the main reason to run it.
How to Obtain
Combat Strategy
- ▸Join any public team, even if you are entering the activity alone. Teammates do not have to come with you.
- ▸Drink Canned Coffee before the damage phase if you are running the Pin-Pointer's configuration.
- ▸Ghouls should top up Glow with irradiated food so Brick Wall, Science Monster, and the rest of the Glow line stay active.
- ▸Crouch before the first shot so Covert Operative and Mister Sandman both apply.
- ▸Open with a sneak shot to trigger Follow Through, which raises all damage on that target for ten seconds.
- ▸Enter V.A.T.S. and lock onto a single body part rather than letting it pick for you.
- ▸Hold fire on the same part so Concentrated Fire, Bullet Storm, and the Onslaught stacks all build together.
- ▸Let the bleed effect run rather than switching targets. Damage here comes from hit count, not hit size.
- ▸Reload through Wild West Hands or Quick Hands procs and keep going. Lock and Load preserves half your Bullet Storm stacks when they do not proc.
- ▸On the Guardian, break the shield first. A downed shield counts as crippled, which switches on Easy Target, Tormentor, and Shotgun Champ together.
- ▸On the Infestation robot boss, target the chest rather than the head. The chest is the real weak point, and Center Masochist pays out heavily for it.
- ▸The snake boss cripples itself near the end of the fight, so the crippled-target damage line comes online without any work from you.
- ▸Ghouls running mobbing content should cut Wild West Hands to two ranks and put the spare point into Bloody Mess, which chains explosions through bleeding enemies.
- ▸Swap Shotgun Champ for Blood Luster when you want more out of the bleed effect. It costs two fewer points and raises bleed damage by 35%.
- ▸Drop Science Monster for Good with Salt if you would rather preserve buff food, or cut Brick Wall for two Intelligence points if stagger immunity does not matter to you.
Sources
Verified: 2026-09-18 · All content is original with full credit to original creators.