Yasuke Ultimate Damage Build
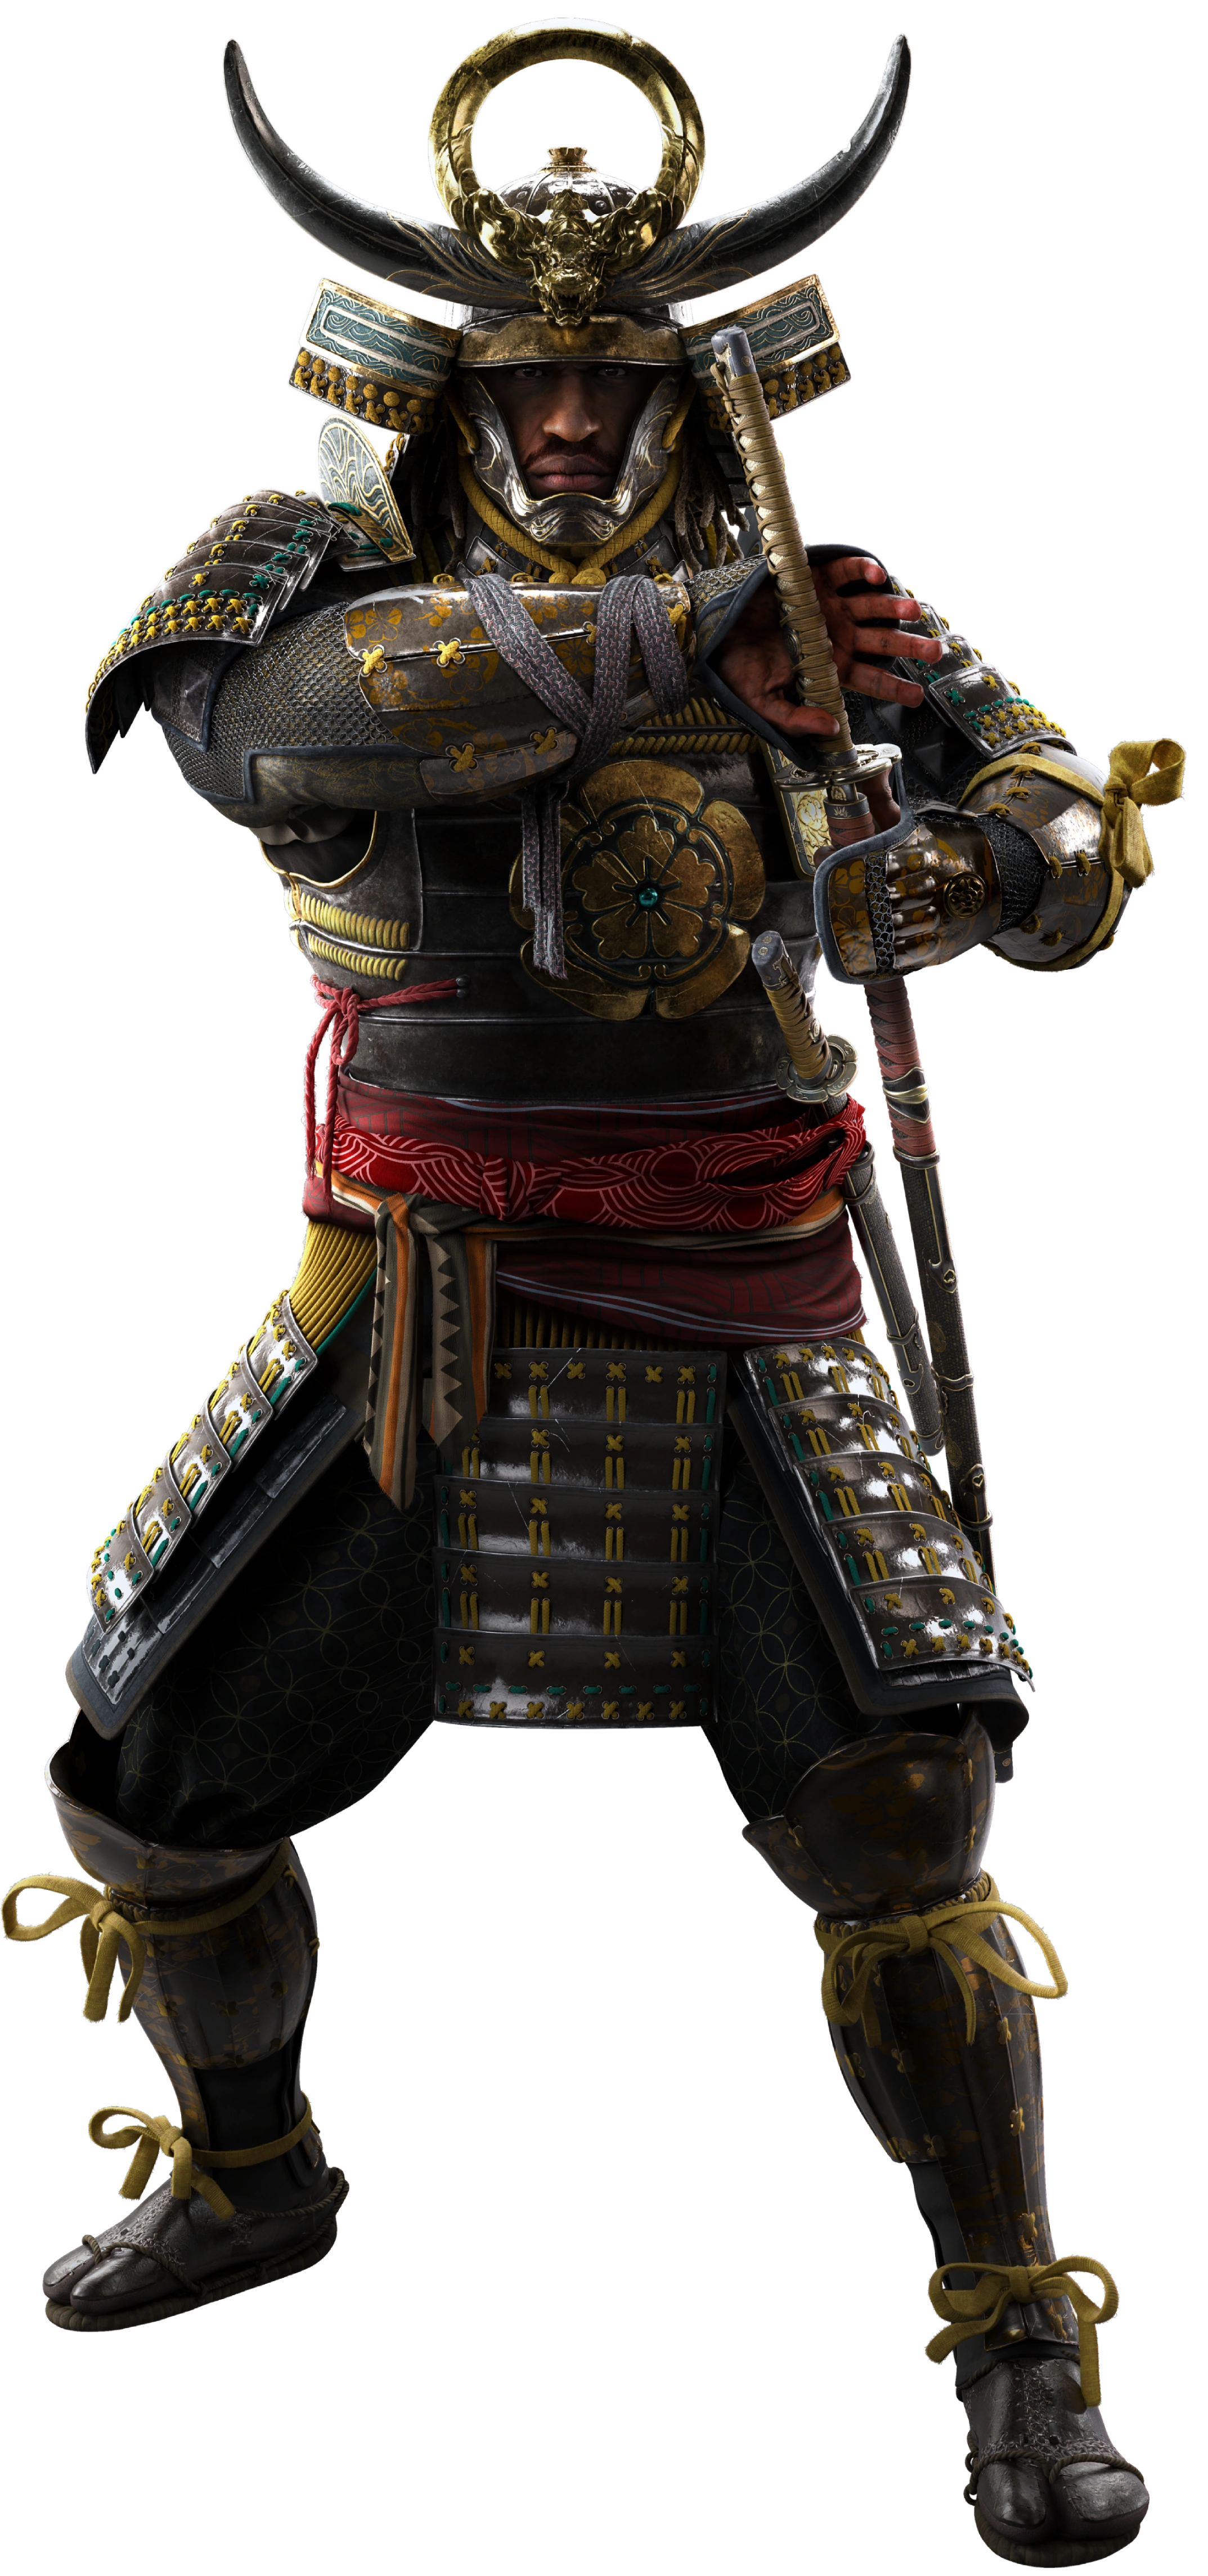 Yasuke
Yasuke gives up his abilities entirely for the Blade of Yumminess and its flat +250% damage multiplier, then builds everything else around critical hits and sheathed attacks instead. Stacked critical chance from armor and helmet, critical damage scaling off Long Katana Mastery points, and full armor piercing on crits turn every sheathed strike into a near-instant kill, letting a level 85 Yasuke tear through level 100 Domain content and bosses alike.
Damage
+250% base damage, stacked crit chance, and 100% armor piercing on crits.
Survivability
Samurai Stand once per combat. Otherwise fully offense-committed with no Ability fallback.
Boss
Level 85 Yasuke clears level 100 Domain bosses; Daishō and Corrupted Daishō melt in seconds.

Yasuke
Assassin's Creed Shadows' heavy-combat protagonist, a historical African samurai who trades Naoe's stealth toolkit for raw armor and weapon damage. He wields Long Katanas, Naginatas, Kanabos, and firearms, and his gear carries Engravings, fixed or rollable perks that layer major combat bonuses onto weapons and armor.

The centerpiece of the build. This Long Katana's fixed engraving disables all Abilities but grants a flat +250% damage multiplier, and because this build never relies on Abilities in the first place, the tradeoff costs nothing. Its second engraving slot is rolled into Improved Sheath Attack, farmed off the Loyal Traveler Long Katana, so sheathed strikes get postured and make enemies Vulnerable on top of the massive base damage.
Engravings
- ▸Massive Damage, No Abilities (fixed)— +250% All Damage. Disables all Ability usage while this weapon is equipped.
- ▸Improved Sheath Attack (rolled, from Loyal Traveler)— Sheathed Attacks are Postured and make enemies Vulnerable. Farm the Loyal Traveler Long Katana (Legendary Chest, Kamikura Shrine in Kii) for this engraving, then transfer it onto the Blade of Yumminess.Wiki
How to Obtain


Headgear built around Samurai Stand, a fixed defensive proc that triggers once per combat when Yasuke would otherwise be knocked out, buying a second chance mid-fight. The rolled second engraving stacks critical chance as kills pile up, which fits a build that's constantly chaining kills through groups.
Engravings
- ▸Samurai Stand on Death (fixed)— Trigger Samurai Stand on death, once per combat, for a defensive second chance instead of a knockout.
- ▸Critical Chance on Consecutive Kills (rolled)— +15% additional Critical Chance with consecutive enemy kills. Stacks the longer a fight against a group runs.
How to Obtain


The amulet that turns invested Long Katana Mastery points into free critical damage, on top of a rolled armor-piercing engraving that makes every crit ignore enemy defenses entirely. Because its fixed engraving scales off mastery points, this amulet is the direct payoff for dumping points into the Long Katana skill tree.
Engravings
- ▸Critical Damage for Long Katana Mastery (fixed)— +2% Critical Damage per Mastery Point invested in the Long Katana skill tree.
- ▸Armor Piercing on Critical Hits (rolled)— 100% Armor Piercing on Critical Hits, letting crits fully ignore enemy defenses. Especially valuable against Daishō and Domain bosses.
How to Obtain
Combat Strategy
- ▸Confirm the Blade of Yumminess has Improved Sheath Attack rolled into its second engraving slot before engaging.
- ▸Enter combat undamaged whenever possible so the Moonlight Crescent Robes' +50% Critical Chance while undamaged is active from the first hit.
- ▸Keep Adrenaline Chunks topped up passively; Abilities are disabled, so nothing spends them down before a fight.
- ▸Open with sheathed light and heavy attacks rather than standard Long Katana swings. Sheathed strikes posture enemies and apply Vulnerable, which stacks with the build's critical chance and armor piercing.
- ▸Chain kills quickly to stack the helmet's consecutive-kill critical chance bonus. The build is designed to snowball harder the longer a group fight runs.
- ▸Fall back to normal Long Katana attacks only when sheathed attacks are on cooldown or recovery.
- ▸Against Daishō, Corrupted Daishō, and Domain bosses, lean entirely on sheathed attacks. Armor Piercing on Critical Hits from Howl of the Dragon removes their defensive buffer on every crit.
- ▸Samurai Stand from the helmet gives one recoverable mistake per fight; use that buffer to stay aggressive instead of playing defensively.
- ▸Invest every available Mastery point into the Long Katana tree first. Howl of the Dragon's critical damage scales directly off that investment, so it's the highest-value long-term spend in the build.
- ▸The secondary Kanabo or a ranged weapon can be swapped freely; the build's identity lives entirely in the Long Katana and its engravings.
Sources
Verified: 2026-09-24 · All content is original with full credit to original creators.